Update — giveaway closed
Hi! I’m Priti from Arm Candy For You!

I am an Engineer, MBA, wife, mom, great cook, craft fiend, a proud Indian, friend, blogger &much much more! And today I would love to share a purse tutorial with you.
Mini Lauren comes with easily accessible pockets, snap closure,
stylish flap cover & a trigger clip to attach your keys or to your purse or
jeans! The detailing & the look give you great designer style without the
designer price tag!
{Trifold Credit Card Holder with trigger clip
& 2 slots}
The
finished size is
4.5″(12cm)
wide x 3.5″(9.5cm) high when closed / 9″(23.5cm) long when fully open including the
flap. The slots are 3″(7.5cm) by 4.5″(12cm) each.
Material Requirement
·
Exterior
fabric – 11” x 11”
·
Lining
fabric – ¼ yard(0.23m)
·
Iron-on
woven fusible interfacing -1/4 yard(0.23m)
·
1
magnetic snap
·
Coordinating
Thread
·
Decorative
button/trim (optional)
·
One
trigger clip
·
2.5”
long webbing/macrame/strap made from the exterior fabric
Cutting
your fabric
From
your exterior fabric cut
·
One
exterior panel 5”(12.7 cm) x 7.5”(19 cm)
·
One
circle with a diameter of 5”(12.8 cm).Use a compass like shown in the pic &
draw on a paper & use it as pattern or draw directly on to the fabric &
cut. A to B needs to be 2.5” (6.4cm).This circle will be used to make the flap.
From your
lining fabric cut
·
One
lining panel 5”(12.7 cm) x 7.5”(19 cm)
·
Two
pocket panels 5”(12.7 cm) x 6.5”(16.5cm)
From the fusible interfacing cut
·
One
exterior panel 4”(10.2 cm) x 6.5”(16.5 cm)
·
One
lining panel 4”(10.2 cm) x 6.5”(16.5 cm)
·
Two
pocket panels 4”(10.2 cm) x 5.5”(14cm)
·
One
flap circle
If you
notice the interfacings are an inch smaller in width & height, this is done
to reduce the bulk in seams while sewing.
Let’s
start
————————————————————————————————
Applying fusible interfacing
1.
Press the interfacings to the wrong sides of the exterior, lining, flap & the
pocket cut pieces .Skip this step for exterior if it is leather, faux leather,
thick burlap or vinyl. Make sure to keep the interfacings in the centre so that
½” is peeking out from all four sides (fig 1).
Please note -The flap
interfacing is the same size as the flap. Use a medium heat steam setting on
your iron. Start in the center of your fabric, and set the iron down on the
fabric, not moving it around much toward the outer edges. Now you have 1
exterior, 1 lining, 2 pocket panels, and 1 flap circle ready to sew.
Start
in the center of your fabric, and press (set the iron down on the fabric, not
moving it around much) toward the outer edges. Now you have 1 exterior, 1 lining,
2 pocket panels, and 1 flap circle ready to sew
————————————————————————————————
Adding the pockets
2. Fold the ½ “peeking out on the long
edge of the pocket panel towards the interfaced side & iron
it .Fold the panel into half with the interfaced sides together, matching the
5” edge & iron it(fig 2). Repeat this with the other pocket panel & top
stitch the folded edge.
3. Take one
pocket panel & pin it ½” above the bottom edge of the lining panel. Pin the
other pocket panel 4” above the bottom edge of the lining panel. (Fig 3). Sew
the pockets on three sides with ½” seam allowance.
————————————————————————————————
Making the flap
4.Take the circle flap & fold
it into 2 & cut it into 2 semi circles.If it has a pattern,see the
directionality while deciding the line on which to cut!
5.If you intend to add a button /rosette/flower,sew it 1.25” above the
curve on the front side of the flap.If you want to add a trim, add it while the
final top sewing, do not sew it at this stage.
6.On
the lining side of the flap measure & mark the centre of the flap .Then
mark a point at 1” from the curve along this centre .
————————————————————————————————
Attaching the flap
7. Place the
top edge of the lining panel & lining flap right
sides together & pin. Stitch them together with a 1/2” seam
allowance (fig 5). Fold the seam allowance towards the lining panel & top
stitch, & don’t forget to back stitch at each end!
8.
Place the top edge of the main panel & main flap right sides together &
pin. Stitch them together with a 1/2” seam allowance. Fold the seam allowance towards the main panel & top stitch same as the lining
panel.
9.
Measure & mark the centre of the exterior panel by joining the long edges
together & mark a point 1.5” from the bottom edge along this centre. Attach
the female part of the magnetic snap on this point.
10.
Now you have 1 exterior & 1 lining panels attached to the flaps & ready
to assemble. (Fig 6)
————————————————————————————————
Final Assembly
11. Take the
webbing/macramé/strap & put the trigger clip through it, fold it in half
& place 1 cm below the top edge of the top pocket facing inside. Sew it
with a few stitches firmly. (Fig 7)
12. Place the lining
& the exterior panel’s right sides together
matching the sides & the curves of the two flaps. Pin all the outside
edges. (Fig 8)
13. Stitch all around the sides & the flap with a ½” seam allowance.
For the bottom edge sew 0.5” from both the bottom corners & leave 4” gap in
the bottom edge to turn the right side out. Remember to back stitch the 0.5”
sewing in the bottom edge else the sewing unravels while turning the right side
out!
14.
Clip the corners in the seam allowance as well around the flap curves.Turn the
case right side out through the gap in the bottom edge. Push out all the
corners & the flap with your fingers or a turning tool gently.Fold the 4”
opening ½” inside on both sides & pin (fig 9).Sew it shut .
Top stitch the entire wallet with a ¼” seam allowance & the mini lauren is ready to paint
the town red with you!
Wow – what a great tutorial, Priti!!
And guess what?!
Priti is also offering a giveaway too!!
She’s giving away TWO sets of FOUR Purse Patterns.
{your choice of ANY in her shop}
So you can make your own purse creations!
Here’s how you can win:
- Hop over to Priti’s shop — Arm Candy For You. What is The Name of your favorite purse? one entry.
And if you want a couple more entries:
- “Like” Priti’s shop on facebook. one entry.
- Check out Priti’s blog — leave a comment or follow for great pattern tutorials. one entry each.
And, Priti is also giving Tatertots & Jello readers a special code for 10% off anything in her shop — just type in TATERTOTSANDJELLO at checkout!!
{this giveaway will end on 2/28}
Have a Great Day!!!
xoxo
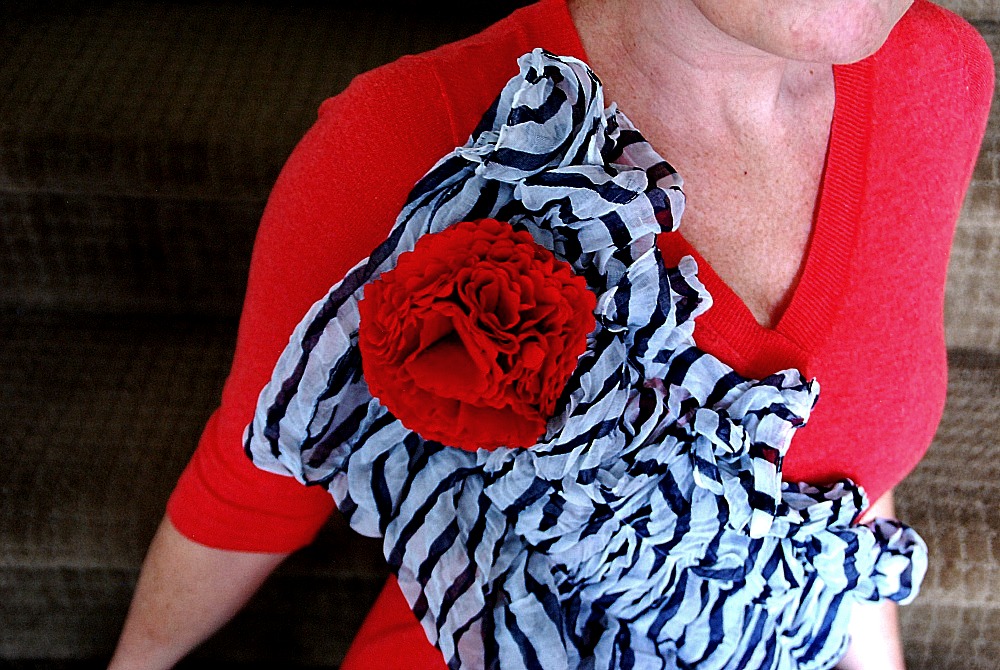
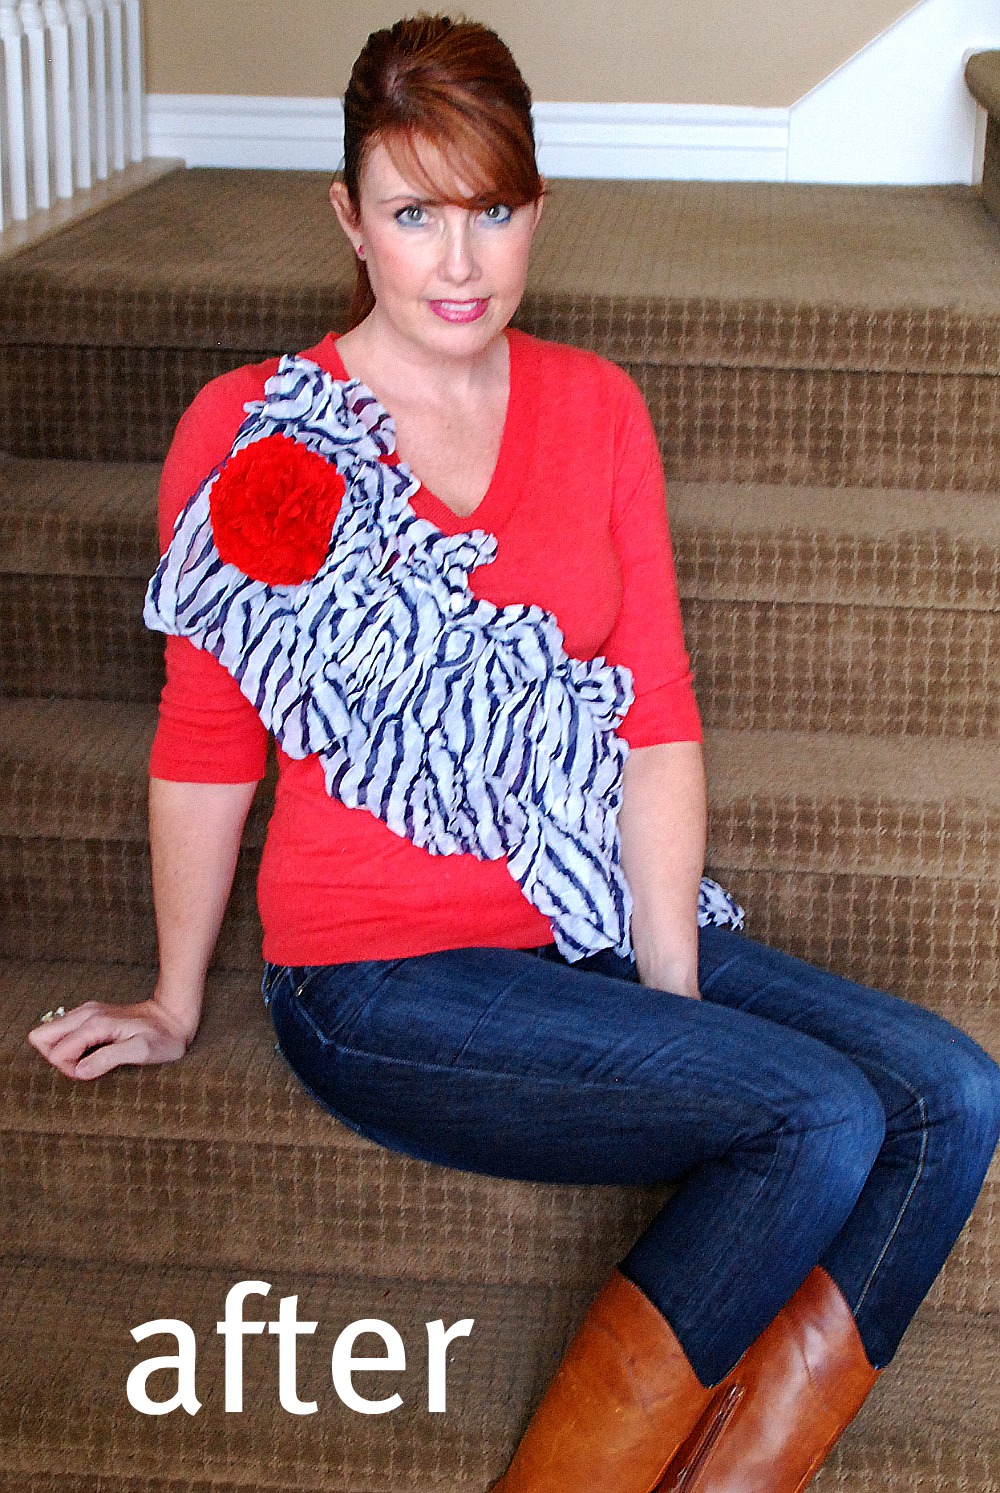
PS — I have been hard at work creating some Spring Sweater Refashions and a fun home decor project. I will try to get those written up to share this week.


